Integrate Google Authenticator App with Nodejs | Two-Factor Authentication
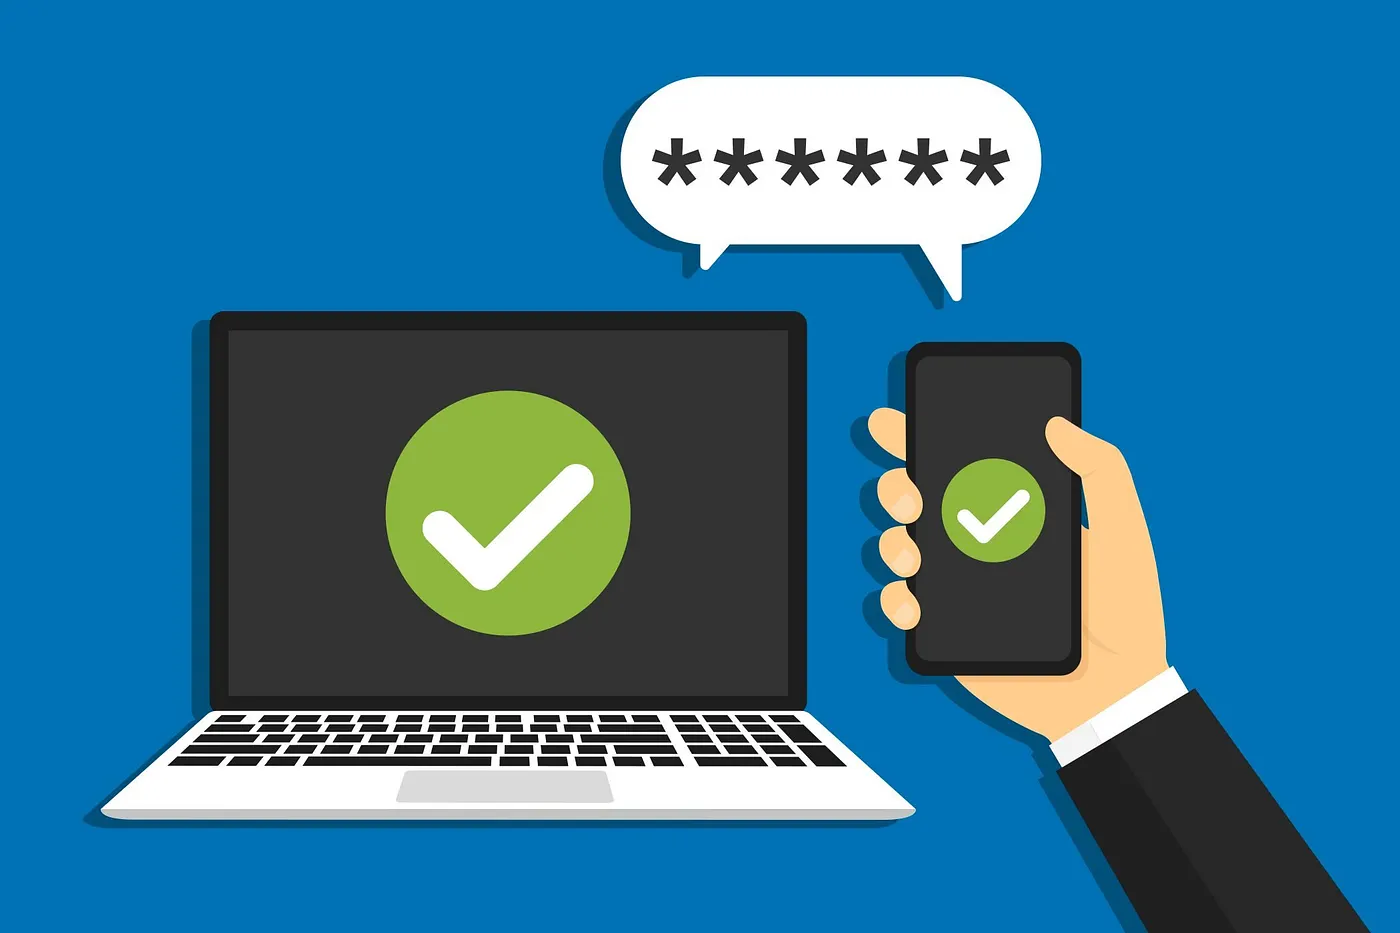
In today’s rapidly evolving digital landscape, the importance of safeguarding sensitive information has never been greater. Two-factor authentication (2FA) has emerged as a popular and effective method to fortify security measures. In this article, we will explore the significance of 2FA and delve into practical optimization strategies to ensure robust protection for our digital identities.
Setting Up the Project:
Let’s start by setting up the Node.js project for integrating Google Authenticator. Open your terminal and execute the following commands:
mkdir google-authenticator-nodejs
cd google-authenticator-nodejs
npm init
After going through the setup process and customizing the configuration, you will have a package.json file.
Now, open this is any editor, I’m using VS Code here, you will find package.json file already.
Installing Dependencies:
Next, we need to install the necessary dependencies for our project. Execute the following command:
npm install speakeasy qrcode dotenvexpress: Node.js web application framework that we’ll use to spin our server.speakeasy: A one-time passcode generator, that we require for the two-factor authentication demonstration.qrcode: Library to generate QR codes for easy setup with Google Authenticator.dotenv: To load environment variables from the.envfile.
So, Now we have all the necessary dependencies to begin with. In our project directory, let’s create index.js file which act as entry point of our projects
Now, let’s generate a unique secret key using speakeasy
There are two ways you can add secret key in your google authenticator app
- Via manual entry
- By scanning a QR Code
We will covering both the methods
Generating a Unique Secret Key:
The secret key is the core component of Google Authenticator. Let’s create a separate file named generate_secret_key.js and add the following code
const speakeasy = require("speakeasy");

function generate_secret_key() {
  // Generate a secret key
  const secretKey = speakeasy.generateSecret({ length: 20 });

  return secretKey;
}

module.exports = generate_secret_key;
In the main index.js file, import the generate_secret_key function:
const generate_secret_key = require("./generate_secret_key");

const secretKey = generate_secret_key();
console.log(secretKey);
when you run node index.js it will print something like this:

This code generates a unique secret key(base32), which you should save somewhere secure. For this article, let’s store it in a .env file.

Let add this to our google authenticator app to get OTP, follow this steps

Then you will get unique OTP on authenticator app.
Generate QR Code
Create a new file named generate_qr_code.js and add the following code:
const speakeasy = require("speakeasy");
const QRCode = require("qrcode");

// Generate a secret key
const secret = speakeasy.generateSecret({ length: 20 });

// Function to generate a QR code URL for Google Authenticator
function generateQRCodeURL() {
    return new Promise((resolve, reject) => {
        QRCode.toDataURL(secret.otpauth_url, (err, dataURL) => {
            if (err) {
                reject(err);
            } else {
                resolve(dataURL);
            }
        });
    });
}

// Generate and display the QR code URL
generateQRCodeURL()
    .then((dataURL) => {
        console.log("Scan the QR code with the Google Authenticator app:");
        console.log(dataURL);
    })
    .catch((err) => {
        console.error("Error generating QR code:", err);
    });
Running the generate_qr_code.js file using node generate_qr_code.js will output the QR code in base64 format. Decode this base64 image, and you can scan it with Google Authenticator to get the OTP.

Just copy and paste this in any image decode, I used https://codebeautify.org/base64-to-image-converter to get the image. Once you get the image just scan with your app and you will get the OTP.
Verify the OTP
Next, we need to verify the OTP entered by the user. Create a new file named verify.js and add the following code:
We need to import dotenv to read.env and you can customize path in dotenv.config()
const dotenv = require("dotenv");
const speakeasy = require("speakeasy");
dotenv.config();

const key = process.env.SECRET_KEY

function verifyOTP(otp) {
  const verified = speakeasy.totp.verify({
    secret: key,
    encoding: "base32",
    token: otp,
  });

  return verified;
}

module.exports = verifyOTP;
In the index.js file, verify the user-entered OTP:
// const generate_secret_key = require("./generate_secret_key");
const verifyOTP = require("./verify");

// const secretKey = generate_secret_key();
// console.log(secretKey);

const userOTP = "263986"; // Replace with the OTP entered by the user

const verificationResult = verifyOTP(userOTP);

if (verificationResult) {
  console.log("OTP verification successful!");
} else {
  console.log("OTP verification failed!");
}
Since we don’t need to generate new secret key, I have commented that code, we can remove that otherwise it will generate new key every time it runs.
Conclusion
Congratulations! You have successfully integrated Google Authenticator with your Node.js application. Two-factor authentication adds an extra layer of security to your digital identity and helps protect sensitive information from potential threats. Implementing these strategies will ensure robust protection. Stay safe and secure!
To adapt this implementation for use with any platform, consider creating an API for interaction with the frontend.
You can find complete go program for this Here
Adding References: